MADE Shapes Swiss Cross field in Pika
A little background for ya; my sister and brother-in-law bought a fixer upper in our hometown in the summer of 2020 (right down the street from the house that we grew up in, actually!) and have been busy making cosmetic upgrades ever since. When they found out their third daughter was on the way last year, I wanted to help them get a few of these to-do’s checked off their list before baby #3 arrived. And adding a backsplash to their kitchen seemed like the perfect job that we could all tackle together! Families that tile together, stay together, amiright? Isn’t that how the saying goes? No? Well, you know what I mean.
Adding a backsplash to your kitchen is a great way to add instant visual interest to your kitchen, but also serves an important function as well. These pretty tiles aren’t just for looks, they protect the wall between the countertop and upper cabinets or open shelves. This is especially important around the sink where lots of splashing happens (especially with a chubby baby enjoying a bubble bath from time to time) and behind the cooktop where food and grease will splatter. Now, let’s get to these tips!
For this project, we used a Swiss Cross from Ann Sacks’ MADE line. The color is called Pika and it’s the perfect gray/tan/greige. My sister instantly fell hard for it, and knew it was the perfect tile for her kitchen. See how it complements the veining in her countertops! It’s charming and casual, but somehow still feels like a classic. Perfect choice. When you select your tile for your project, you’ll find there to be no short supply of options. I like to think of tile as an opportunity to express your style and creativity. Are you fun, funky, and colorful? Or maybe you’re refined, neutral and timeless? Either way, your tile choice will help you showcase the color scheme and theme of your kitchen. I always order samples to “live” with them for a few days. This is an opportunity to see your faves periodically throughout the day in different lighting too.
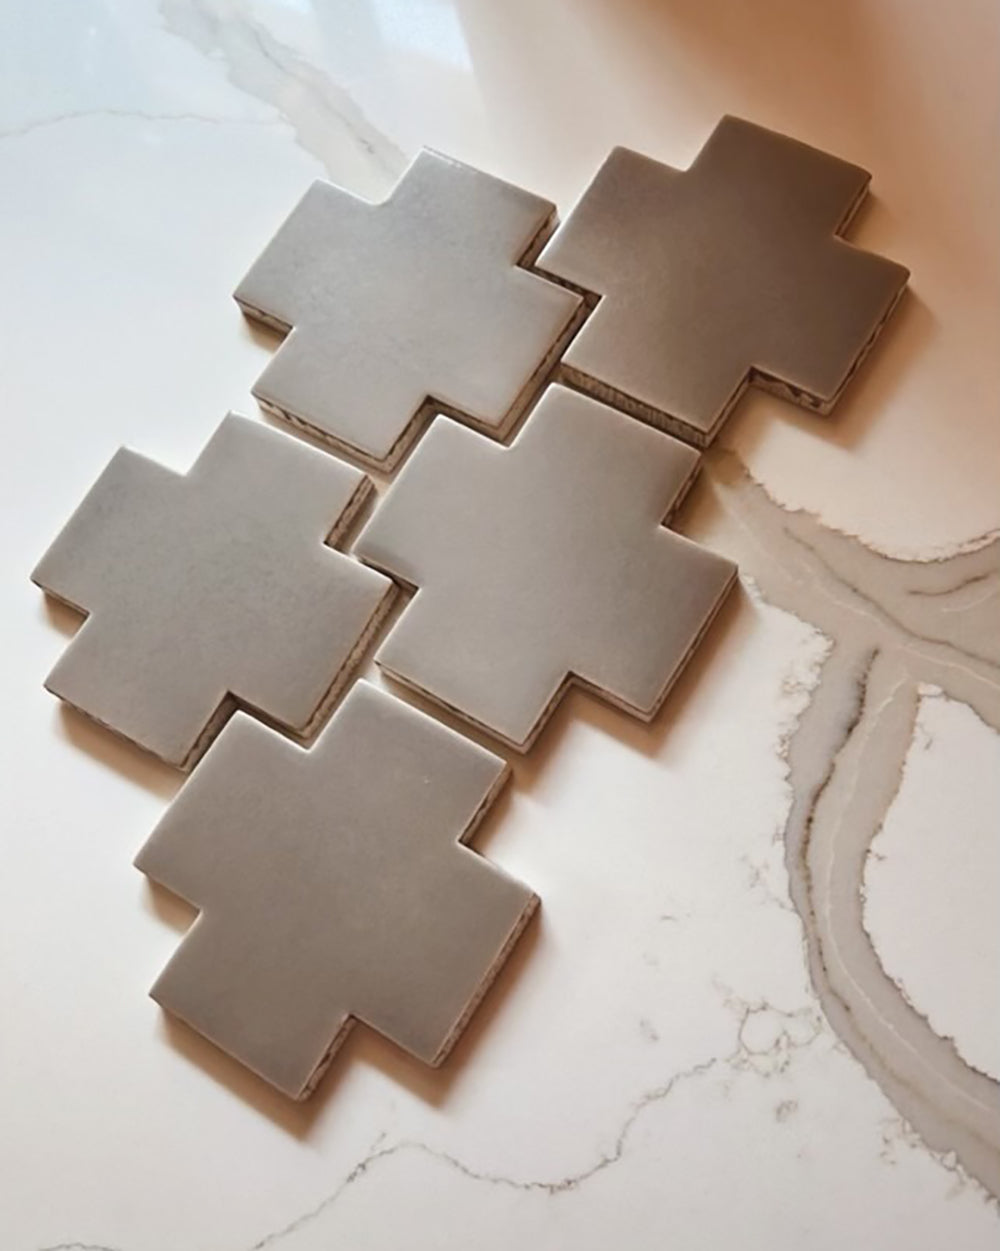
MADE Shapes Swiss Cross field in Pika
Once you select your tile, you’ll need to measure your wall to determine its square footage. Don’t forget to factor in things like outlets and switches. We always say, “measure twice, and then measure one more time for good measure.” Once you have your measurements calculated, add an additional 10% to your sum, to fill in any small gaps, replacement pieces, or cutting mistakes. Next, trim pieces that coordinate with your tile selection are very important and often overlooked. I am even guilty of forgetting about these pieces a time or two. There are many different types of trim, including borders, moldings, chair railings and bullnoses. These are the pieces that are used to finish the edges of a tiled area, typically corners where without an alternative such as mitering, you will be left with an exposed tile edge. These are the details that will give your work that professional look. Lastly, make sure you have the necessary tools so that installation goes as smoothly as possible. Think tile saws, spacers, trowels, mastic and grout.

The answer to this question isn’t always an obvious one, but I always consider what I’d like the focal point of the room to be. In our case, it was tricky because of the shape of my sister’s kitchen, but we ultimately decided to start from the center and work our way out. In some kitchens, it’s more obvious. Like if your range is centered in the space, then starting directly in the middle of the range would be a good option. Try and resist the urge to start in the left bottom corner and work your way to the right, as it might leave your work looking unbalanced, and not well thought out.

When it was time for us to select a grout color for our Swiss Cross kitchen backsplash, we knew we wanted a contrasting color in order to highlight this fun pattern. Pro Tip: If you want to highlight the pattern that your tile creates, a contrasting color is best. Alternatively, if you’re trying to achieve uninterrupted lines that feel expansive and open, then you’ll want to choose a grout color that blends into your tile. The shade you pick relies on what you are trying to accomplish in your design.
The process of grouting is my favorite part of a tile install. It’s messy, but oh so rewarding. Using your rubber grout float, spread your grout (I like using a pre-mixed grout because the consistency is always perfect and it takes the guesswork out of mixing it yourself) in small sections while pressing it into the tile joints. Then, you wipe, wipe, and wipe! Wipe away all the excess material with a damp sponge until you have a seamless look. Finally, repeat this process until all the joints are filled and all the excess is gone.


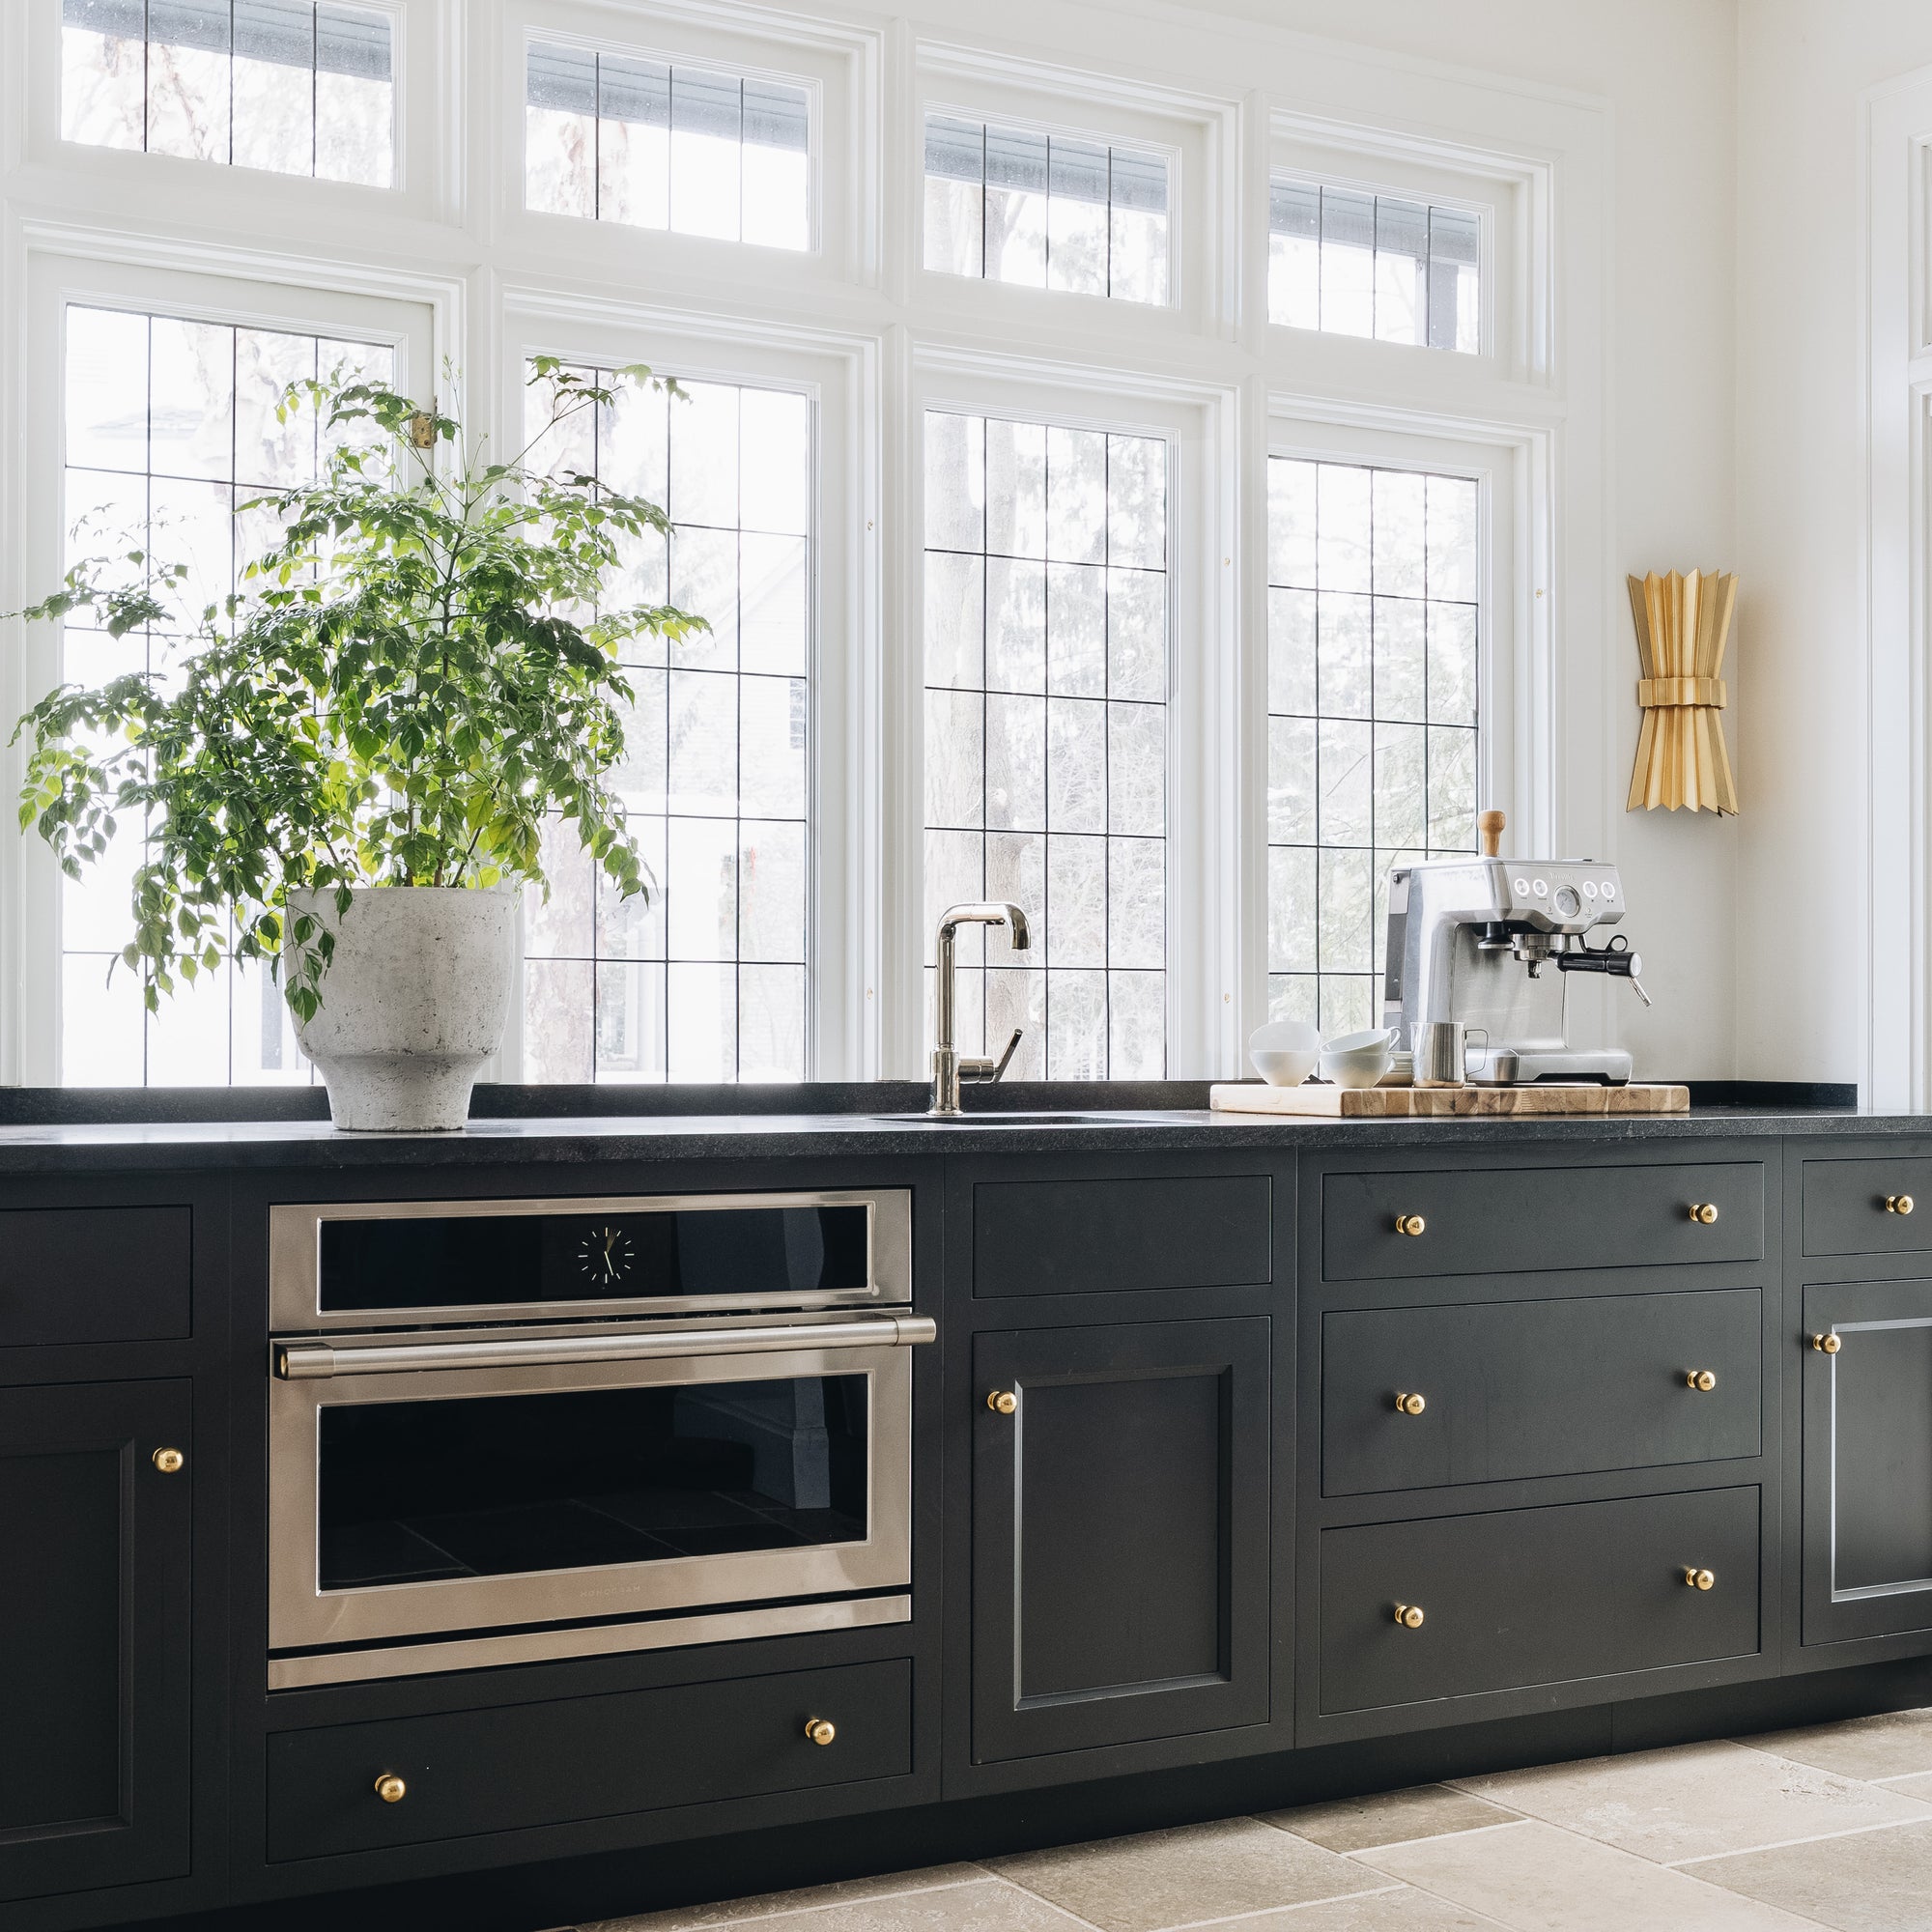
Whether you’re revamping a kitchen that’s in need of a facelift or are in the process of designing a new build, you’ll want to consider these six kitchen must-haves.
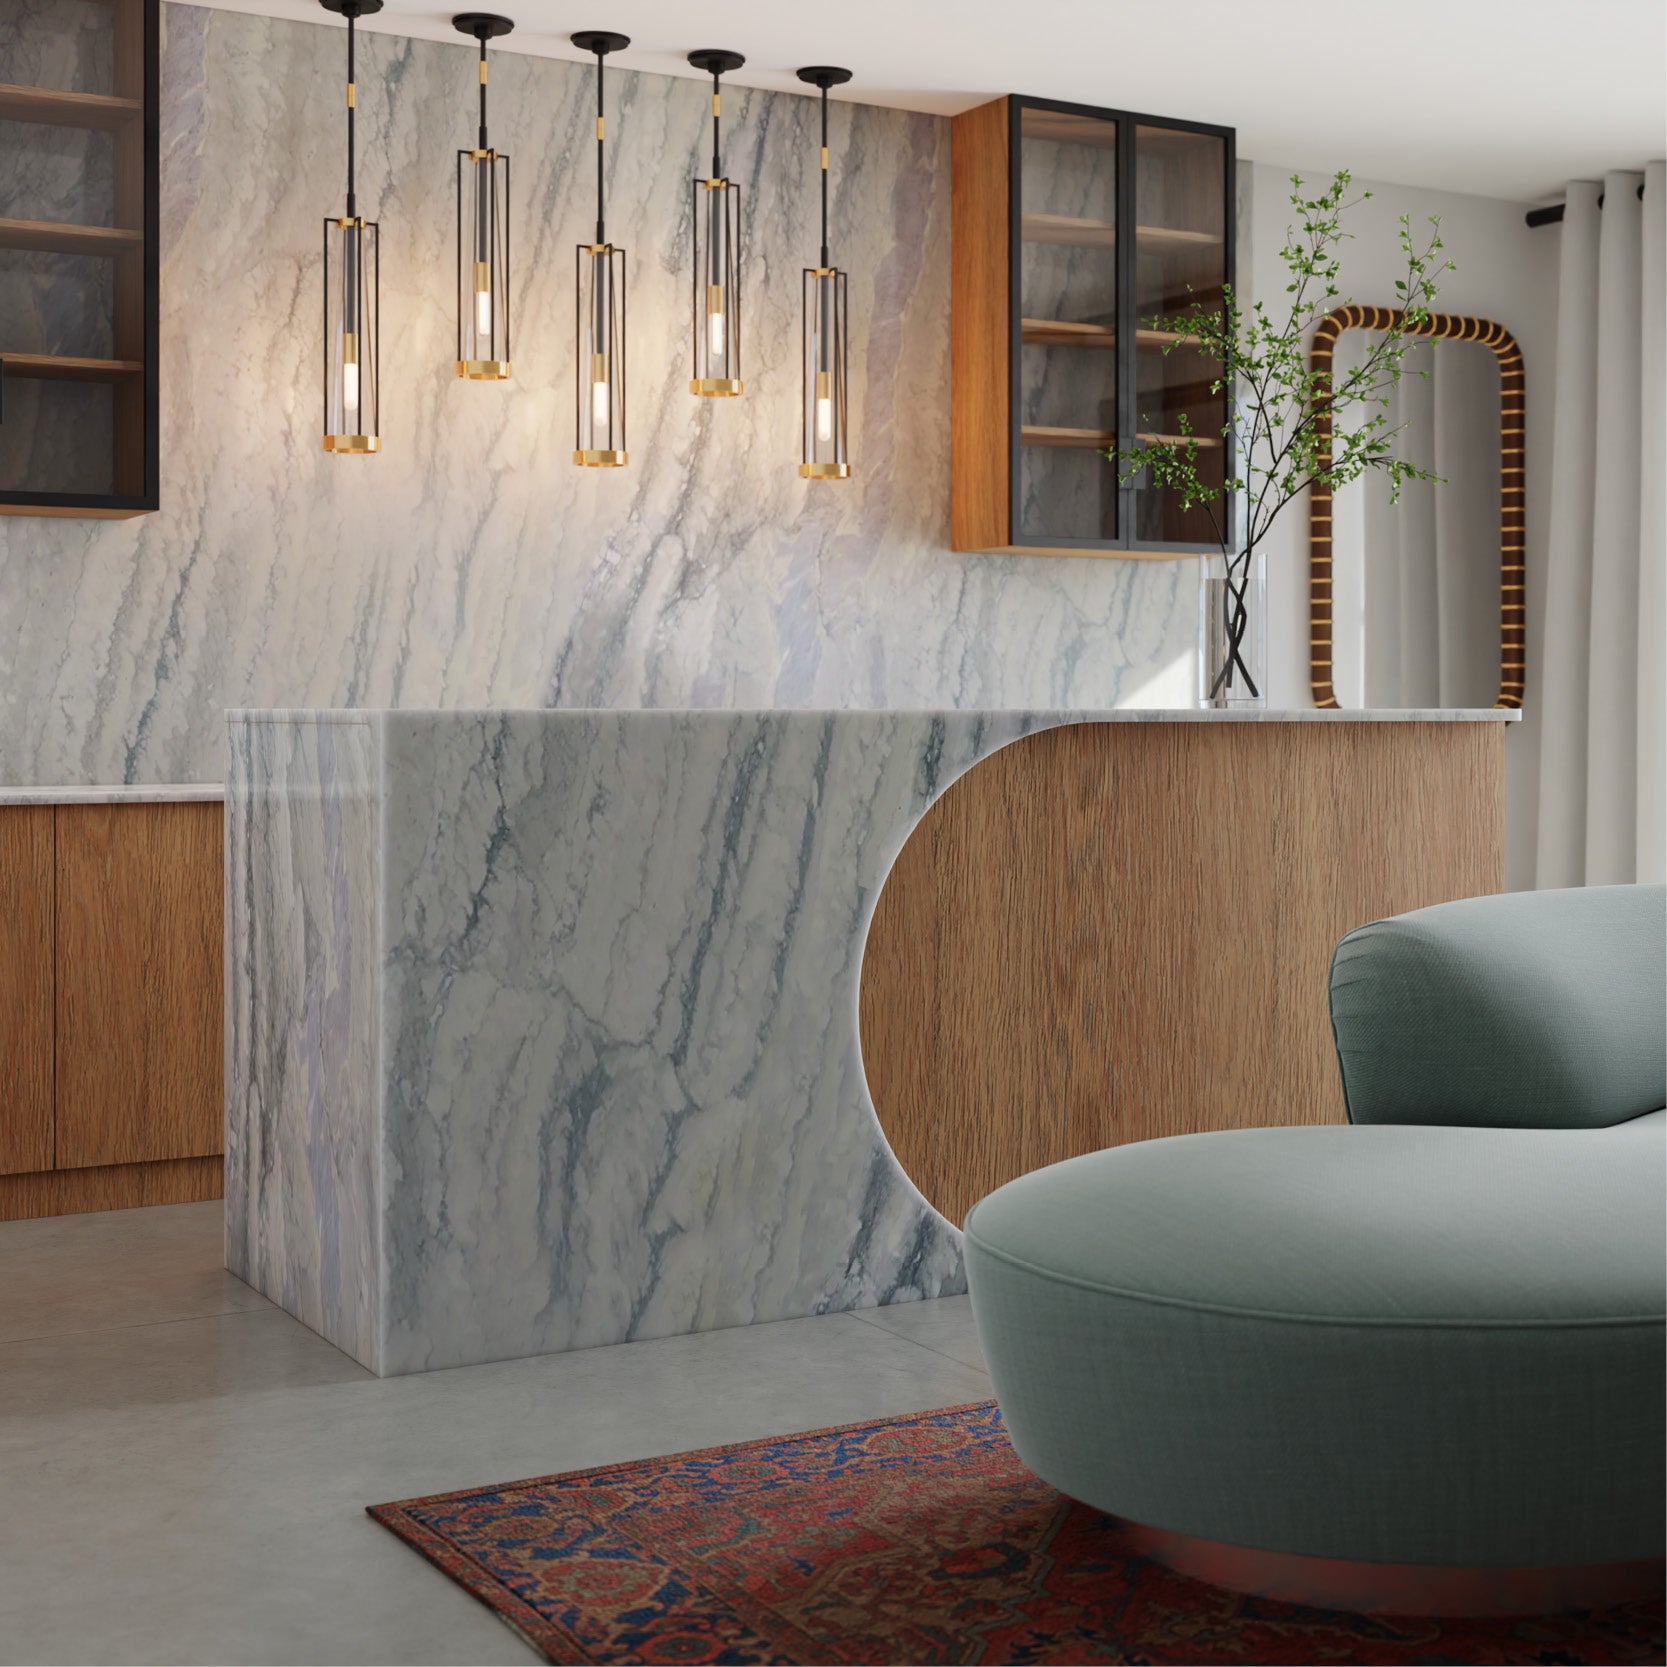
Cheers! To the opening of our newest showroom and slab gallery in Nashville, TN.
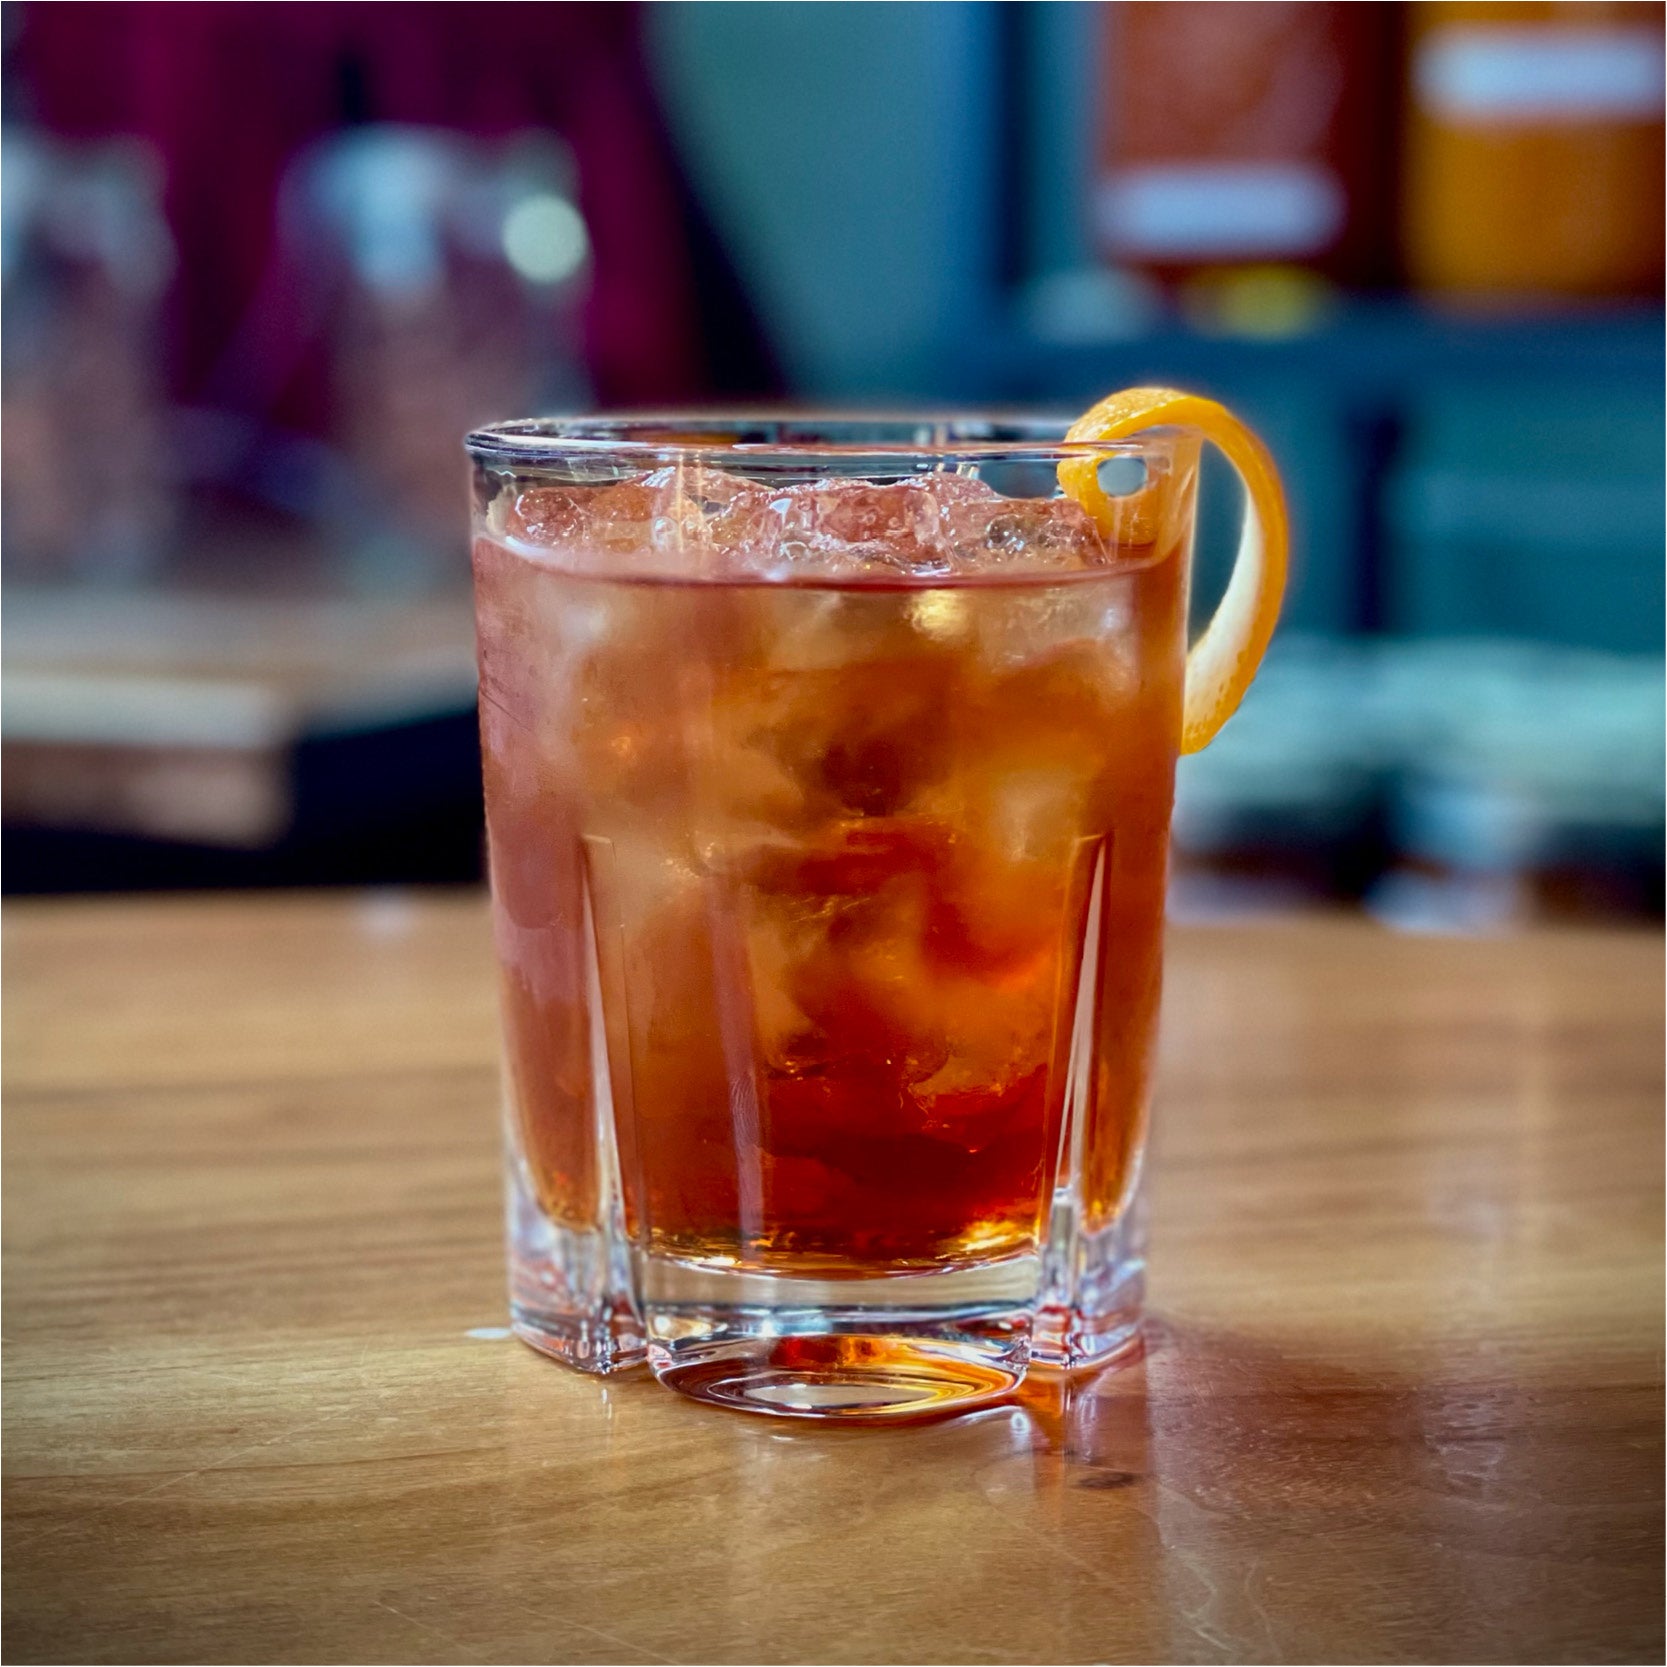
General Manager and Sommelier Karen Van Guilder-Little of renowned Nashville restaurant, Josephine on 12th shared one of their signature cocktail recipes with us that they call “Ain’t No Sunshine”.